Gear Check & Maintenance


We’ve all been there — you finally begin setting up your campsite after a long drive and anticipating your trip for months, only to realize ___________ is broken/ripped/dirty/moldy, and irreparable in the middle of nowhere. It can almost be guaranteed that once this happens, you will never make the mistake of not checking your gear before a trip again!
If this has never happened to you…you’re in the right place! Checking your gear and performing proper and regular maintenance is key to either keeping your favorite outdoor toys and essentials ready for your next trip, or letting you know it is time to replace them with something new.
Step 1: Clean
Camping gear is meant to be dirty, right?
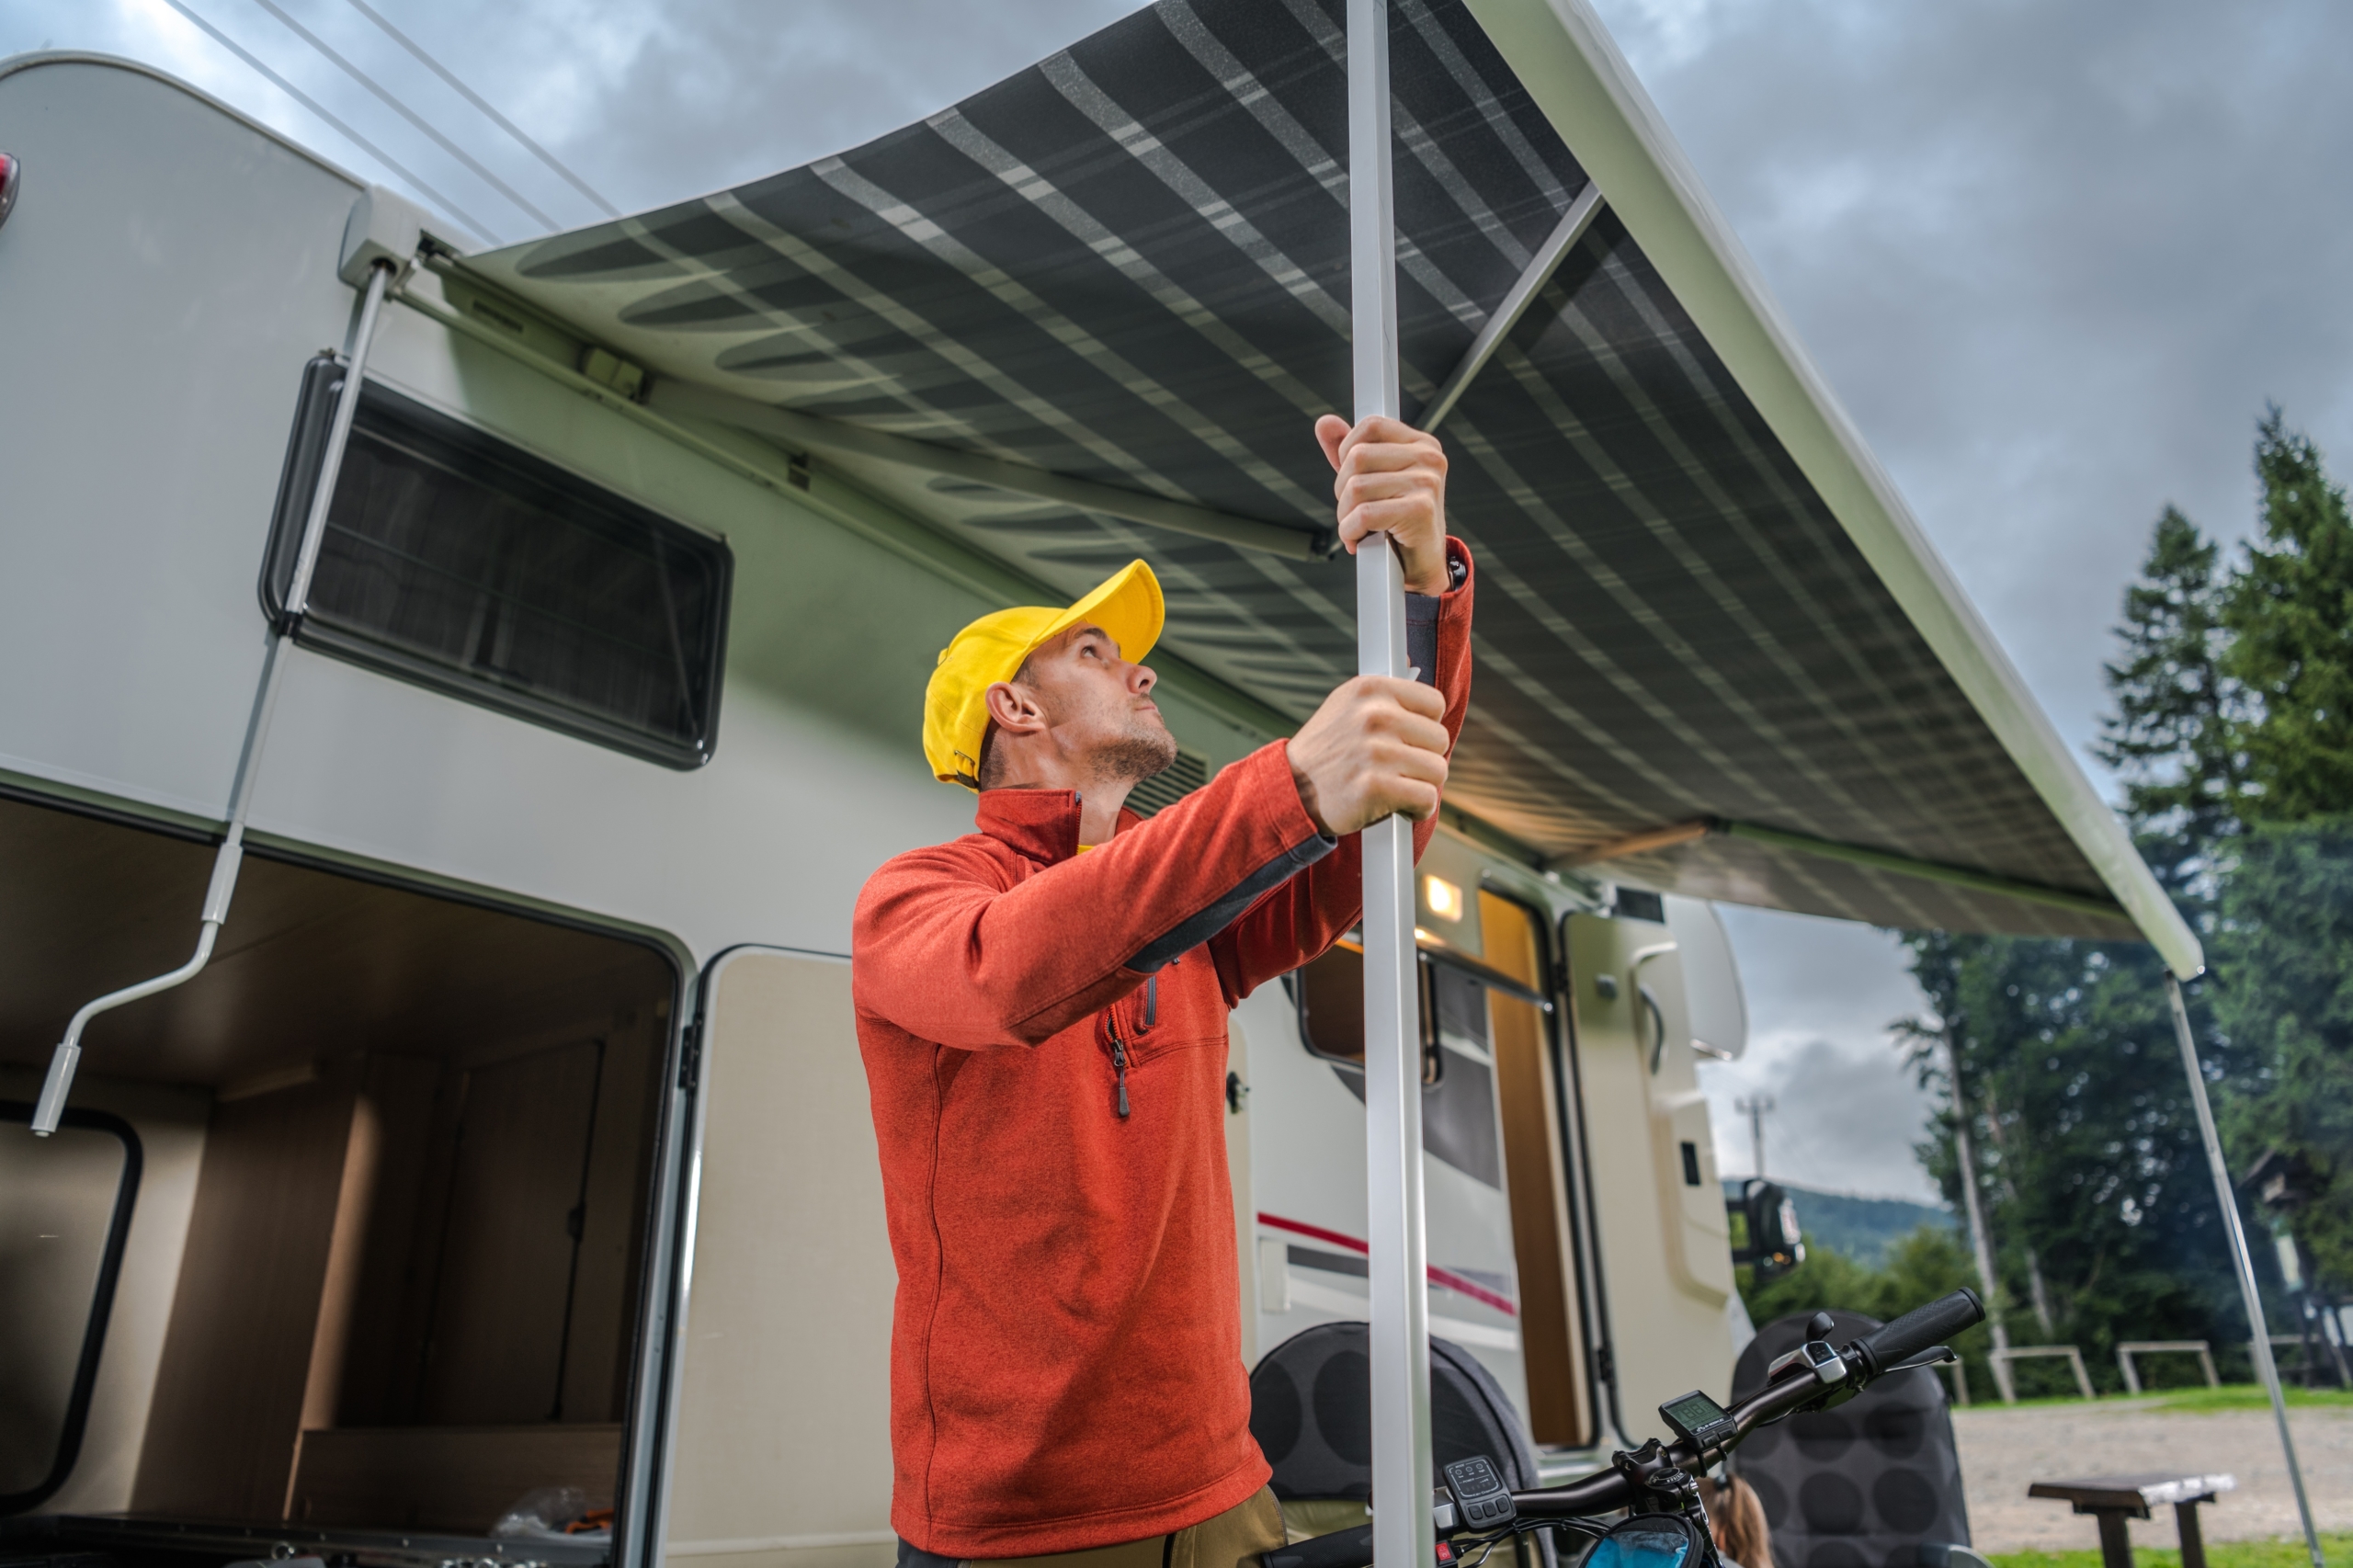
Yes, but it is not meant to stay dirty. Cleaning your camping gear is a tedious step, but it absolutely the most important step for extending the life of your items. Camping in dirt, sand, or near the ocean can cause unnoticeable build-up over time, especially in nooks, crannies, and folds. Dusty tent poles, squeaky RV awnings, musty coolers, and dirty chairs will only get worse over time, and sometimes we’re too tired after a big trip to clean them as well as we should.
Clean off a spot on your driveway, spread everything out, grab some rags and cleansers (dish soap works great), and get to work! During this step, consider scheduling important maintenance for your car, RV, or trailer.
Step 2: Organize
Camping gear can often go out of sight and out of mind during the off-season, making things harder to find when it’s time to pack up the car or RV for your next trip. Organizing your camping stockpile will also help you realize extra or missing necessities. Keeping things organized at home will also help keep you organized when camping, and can help avoid “gear explosion” at the campsite.
Putting together similar items is a great place to start; try putting all cooking/eating items together, anything needed for the tent together, and games and toys together, for example. Lastly, creating a “donate”, “sell”, and “trash” system will help decide what to do with any gear you’ve decided to part with.
Step 3: Test
If cleaning is the most essential step, testing might be the most fun step! Testing all your gear is another step that shouldn’t be skipped; nothing is worse than getting to your relaxing campsite and realizing your gear is broken, not working right, or too complicated for your skill set. Also, if you purchased something new for your next trip, you don’t want to spend valuable vacation time wrestling and figuring out your new gear.
Pretend your driveway or backyard is a campsite, and set everything up as you normally would, testing everything along the way (including zippers!) and making note of anything that may need replacing or extra attention.
Step 4: Restock
Rusty marshmallow sticks? Missing tent stakes? Old leveling blocks? Some things just need to be replaced every few years. After you test all your gear and make note of anything that needs replacing, shop online or in person and restock your necessities. Be sure to revisit step three with any new camping gear you acquire!
There are also many food items people keep with their camping stuff — but just because it can last, doesn’t mean it should. Replace that old syrup bottle, trade stale coffee for fresh grounds, and refill the salt and pepper shakers so your food is fresh for your next trip.
Step 5: Put Away
Camping gear that is properly put away saves time, extends the life of your gear, and makes every aspect of your camping trip easier. Labeling bins and assigning each family member their own bag makes packing easier and quicker, and will take less effort when it’s time to unpack.
Utilizing all empty space when putting things away (like rolling up your tarp with your tent or using a cooler to store dry goods and dishes) helps save time and valuable space in your storage area. Hopefully you didn’t skip step two — organized items are much easier to put away!